Goals, Projects, and Actions
This is the page where your map becomes real. You have named Dimensions; now we’ll put a genuine goal of yours inside one, break it into work, and place that work in time. Use a real goal as you follow along — something you actually want in the next few months. The example here is “Run a 10K,” but yours is the one that matters.
Where things go
Section titled “Where things go”The structure, as a reminder from the first page:
- Goals live in Dimensions — outcomes, usually months in scale.
- Projects live in Goals — bodies of work, usually weeks in scale.
- Actions live in Projects — the day-to-day steps you’ll actually do.
But the hierarchy is flexible, not strict. A Dimension can hold Projects, Actions, or Notes directly, with no Goal wrapper. A Goal can hold Actions directly, with no Project in between. A one-off errand doesn’t need ceremony; drop it straight into its Dimension. Use exactly as much structure as a plan deserves — no more.
The only rules the hierarchy enforces: Goals don’t nest inside Goals, and Projects don’t nest inside Projects.
Creating your Goal
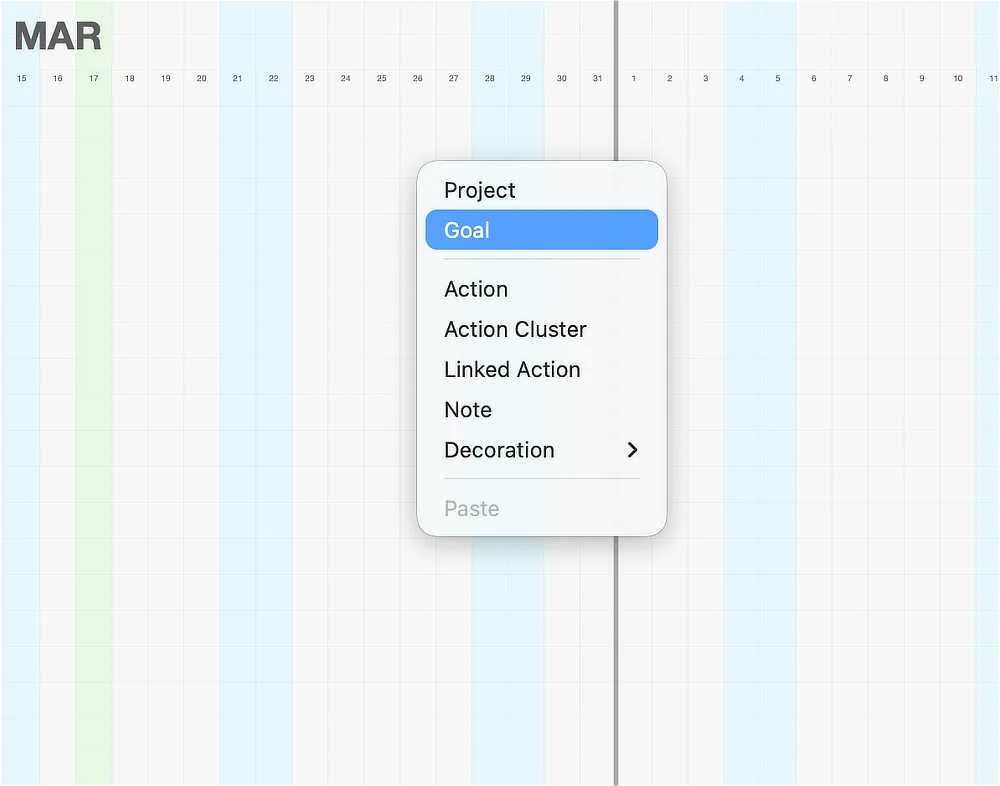
Section titled “Creating your Goal”Right-click the interior of the Dimension where your goal belongs — remember the rule from the last page: interior to create. The menu offers everything a Dimension can hold: Project, Goal, Action, Action Cluster, Linked Action, Note, and Decoration.
Choose Goal. It appears on the canvas where you clicked, with a placeholder name. Double-click it to give it its real name — “Run a 10K” — and its dates.
Don’t agonize over the dates. A Goal’s span is a statement of intent, not a contract — you learned to drag edges on the last page, and Goals resize the same way as everything else. Put it roughly where it belongs and move on.
Breaking it into a Project
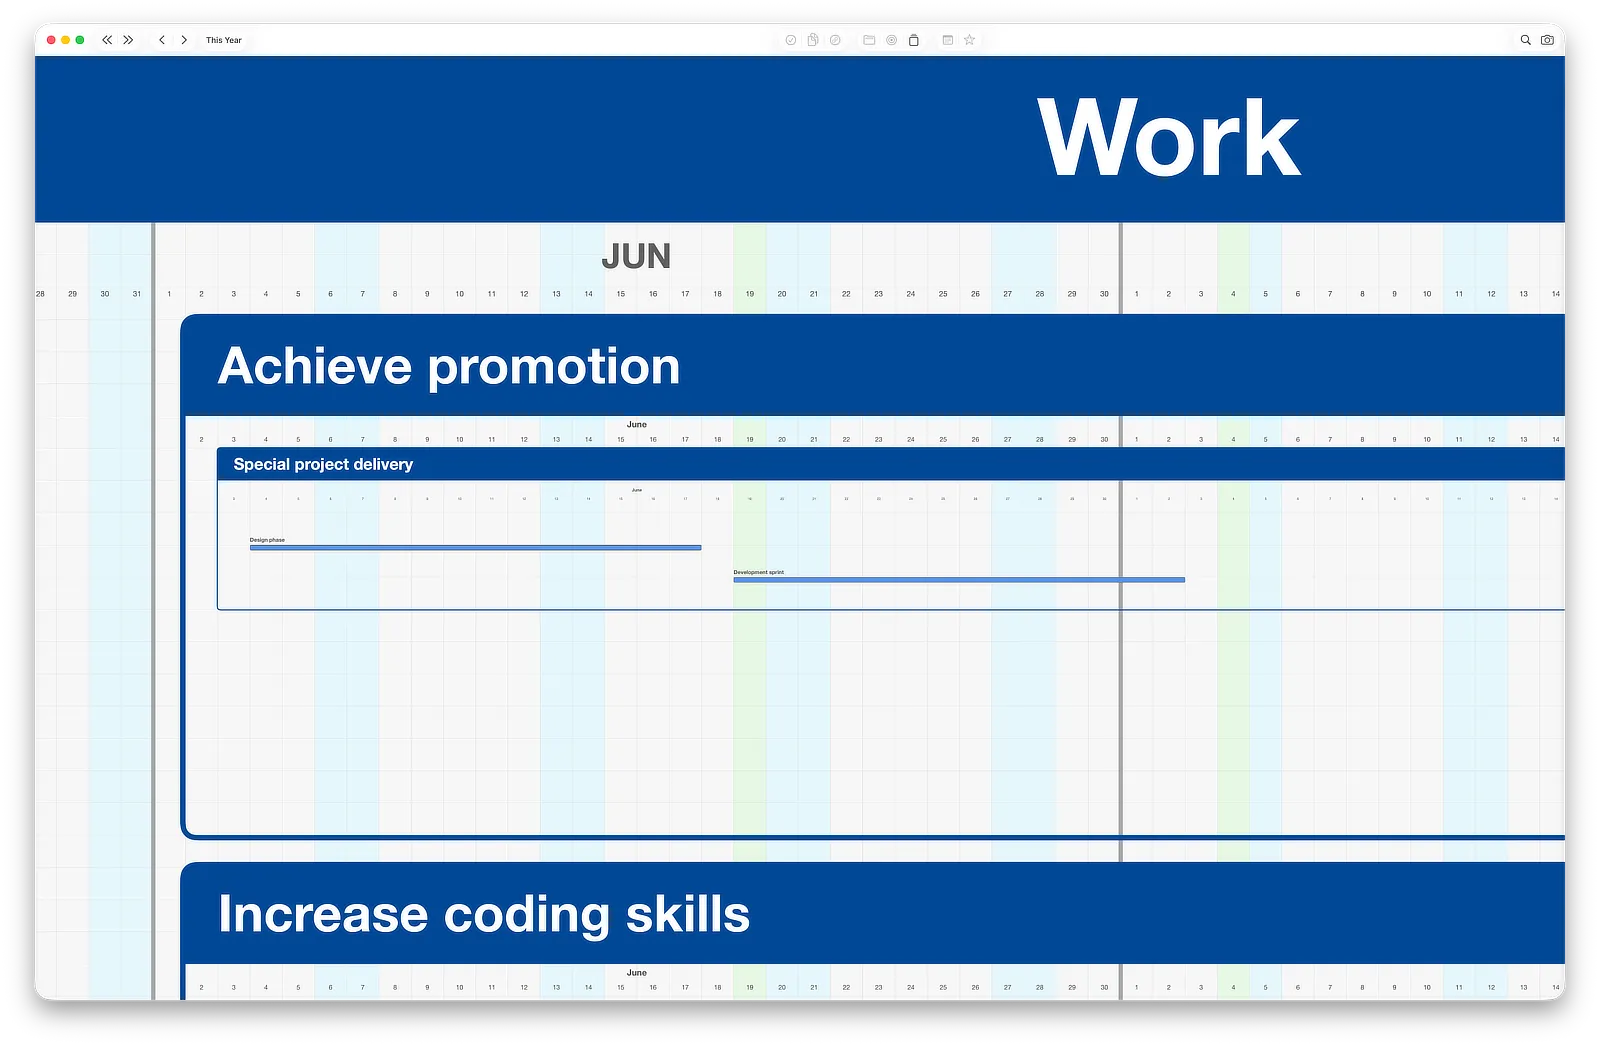
Section titled “Breaking it into a Project”Right-click the interior of your new Goal. Same rule, one level down: the menu offers what a Goal can hold — Project, plus Actions, Notes, and the rest.
Choose Project and name it for the work: “Training plan.” Notice it wears the same color as its Dimension; the whole family does, which is what keeps the zoomed-out canvas readable.
Filling it with Actions
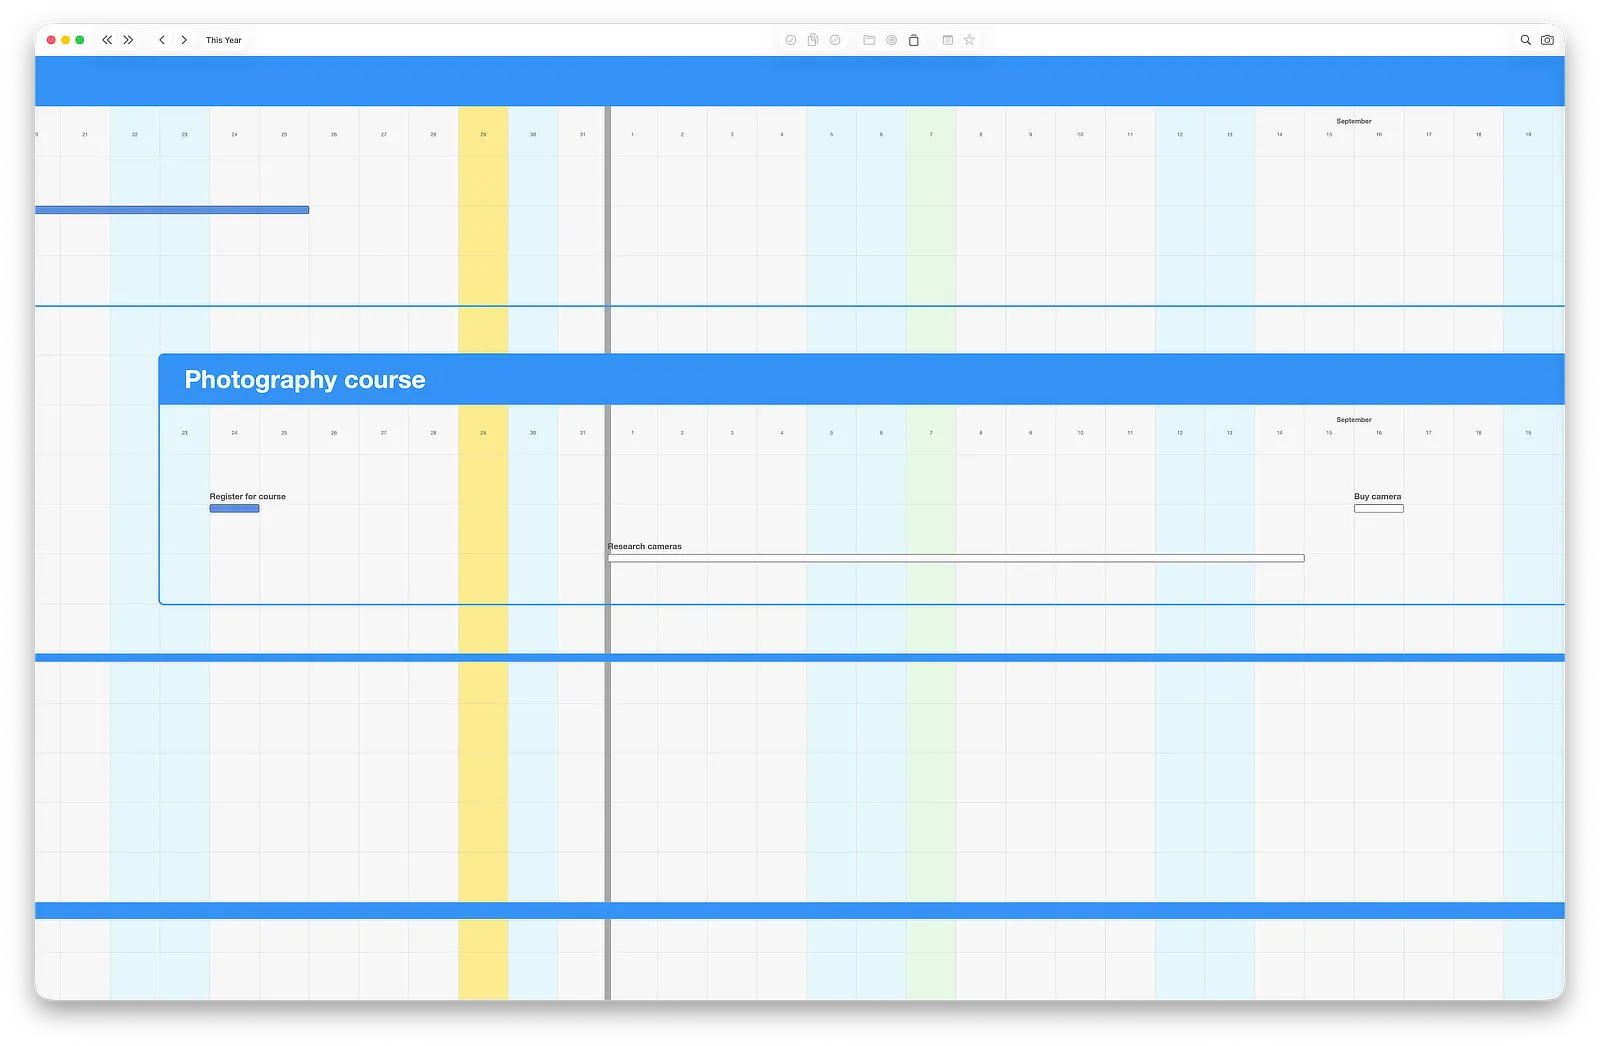
Section titled “Filling it with Actions”Right-click the interior of the Project. At this level the menu offers the tactical items: Action, Action Cluster, Linked Action, Note, Decoration.
Choose Action and name the first real step: “Sign up for the race.” Add two or three more — “Buy shoes,” “First training run” — each placed roughly when you’d do it.
Two kinds of adjustment, both from the last page’s gestures:
- Move an Action by dragging it to a different date.
- Resize it by dragging its edges, if the work spans several days.
You’ll meet the other two Action types — Action Clusters for daily habits and Linked Actions for repeating work — later in the guide. Plain Actions are enough for a first plan, and most plans are mostly plain Actions anyway.
The keyboard route
Section titled “The keyboard route”Everything above can also run from the menu bar. Select a container by clicking its header, and the Item menu offers what can be created inside it, with shortcuts: New Goal Cmd+G, New Project Cmd+P, New Action Cmd+N. The menu enables and disables items to match the selection — select a Project and New Goal is grayed out, because Goals don’t go inside Projects. The menu is teaching you the same containment rules this page just did.
Step back
Section titled “Step back”Zoom out. There it is: a real goal of yours, broken into work, placed in time, sitting in the right area of your life. That’s the whole method in one structure — and it’s the exact structure you’ll repeat, with judgment about how much of it each plan needs, for everything you ever put on this canvas.
One habit to start now: when a new commitment enters your life, put it on the map first, even as a rough shape. The canvas can only show you collisions it knows about.
Next: Statuses →